Build a channel from scratch - Part 1: Getting started
Channels are ways to communicate with your customers. Zendesk Support has many different built-in channels, including email, web forms, X (formerly Twitter), and Facebook. However, Zendesk can't cover every channel where customers ask for help.
You can use the Zendesk Channel framework to build your own channel to where your customers ask for help. In this five-part project, you'll learn how to build a simple channel to a community in a Zendesk help center.
The new channel will create a ticket in Zendesk Support for each post a customer creates in your community. When the agent in Zendesk Support replies to the ticket, the reply will be shared as a comment to the original post in the community.
Guide admins can currently create a ticket from a post by clicking Create a ticket in a menu on the post. However, the new channel will create the tickets automatically so that questions don't fall through the cracks. Also by sharing an answer in the original post rather than in a private ticket conversation, the channel allows other users to benefit from the answer and potentially reduce the number of tickets.
Topics covered in this article:
This is the first part of the project:
- Part 1: Getting started - YOU ARE HERE
- Part 2: Creating the integration service
- Part 3: Connecting to the community
- Part 4: Building the admin interface
- Part 5: Deploying the channel
Disclaimer: Zendesk provides this article for demonstration and instructional purposes only. The channel developed in the article should not be used in a production environment. Zendesk does not provide support for developing a channel.
Understanding the user experience
When the channel is in place, the experience for customers and agents will look as follows.
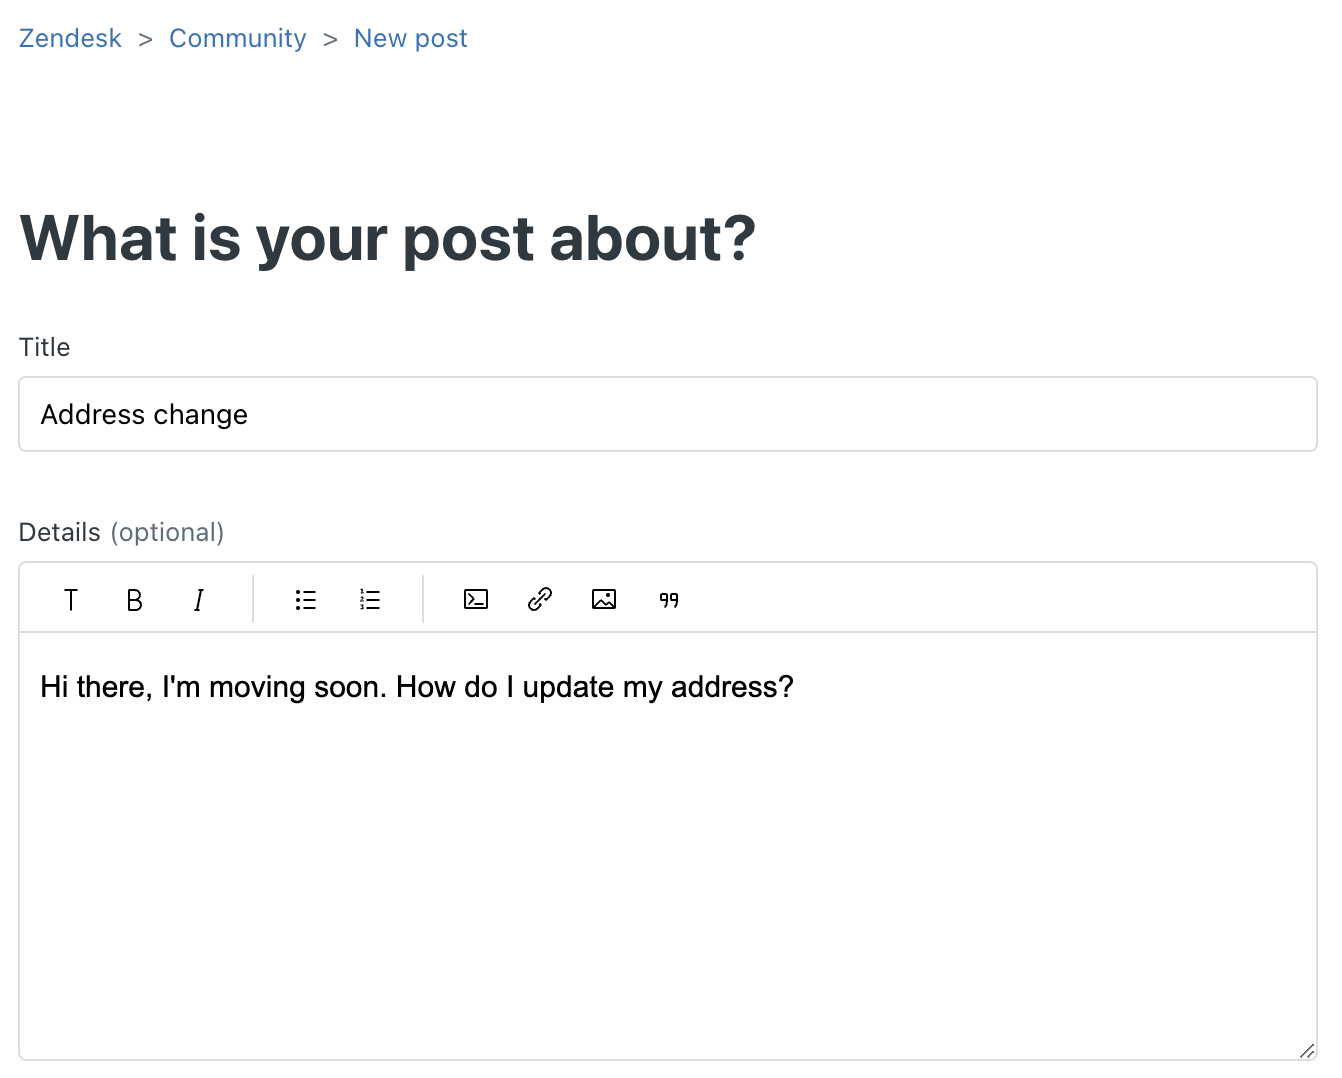
A customer with a question starts by creating a post in the help center community:

The post is published in the community:

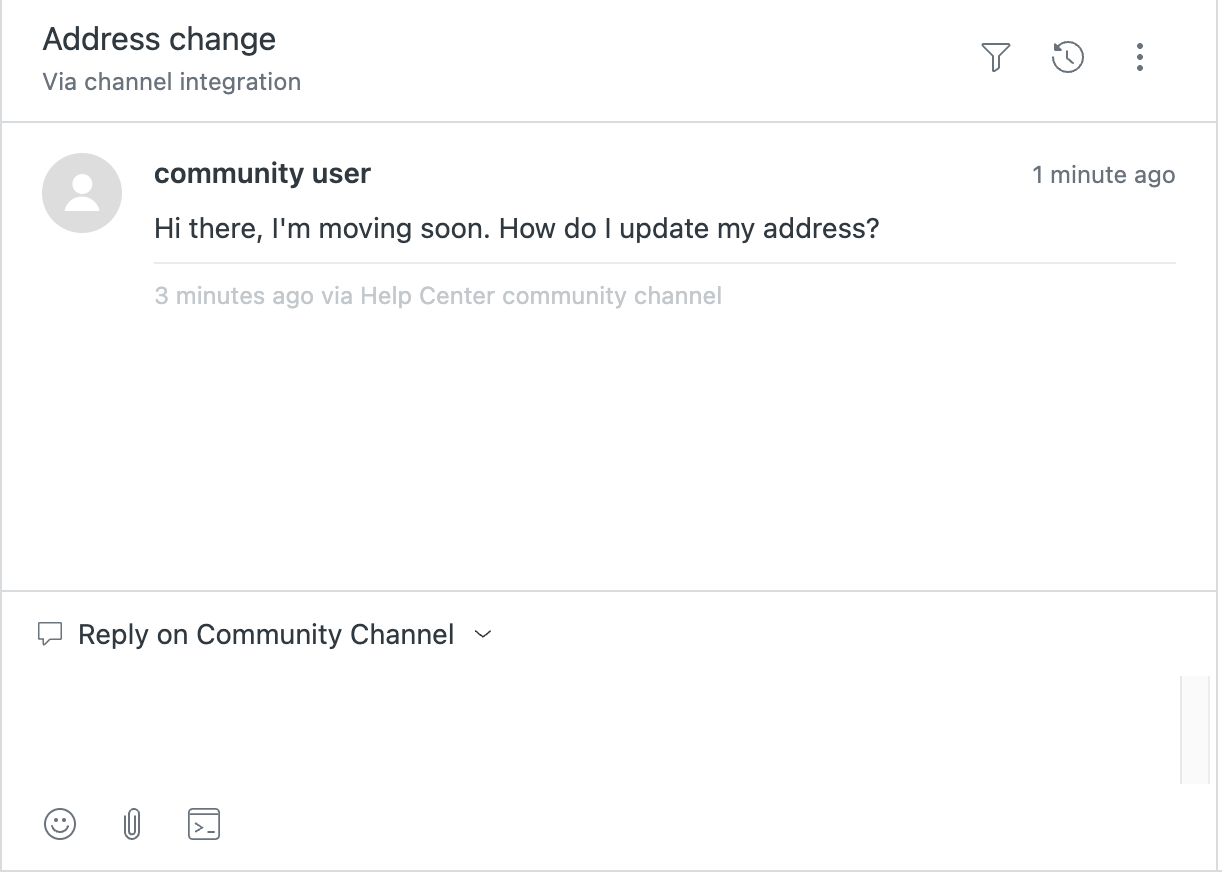
After a moment, the post becomes a ticket in the agent interface:

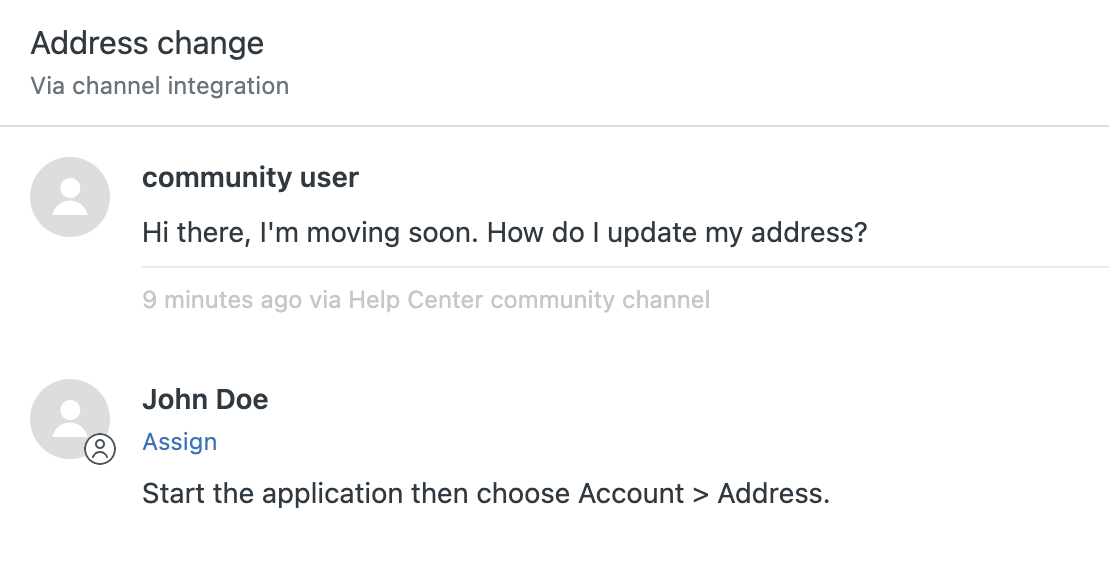
The agent adds a comment to the ticket and saves it:

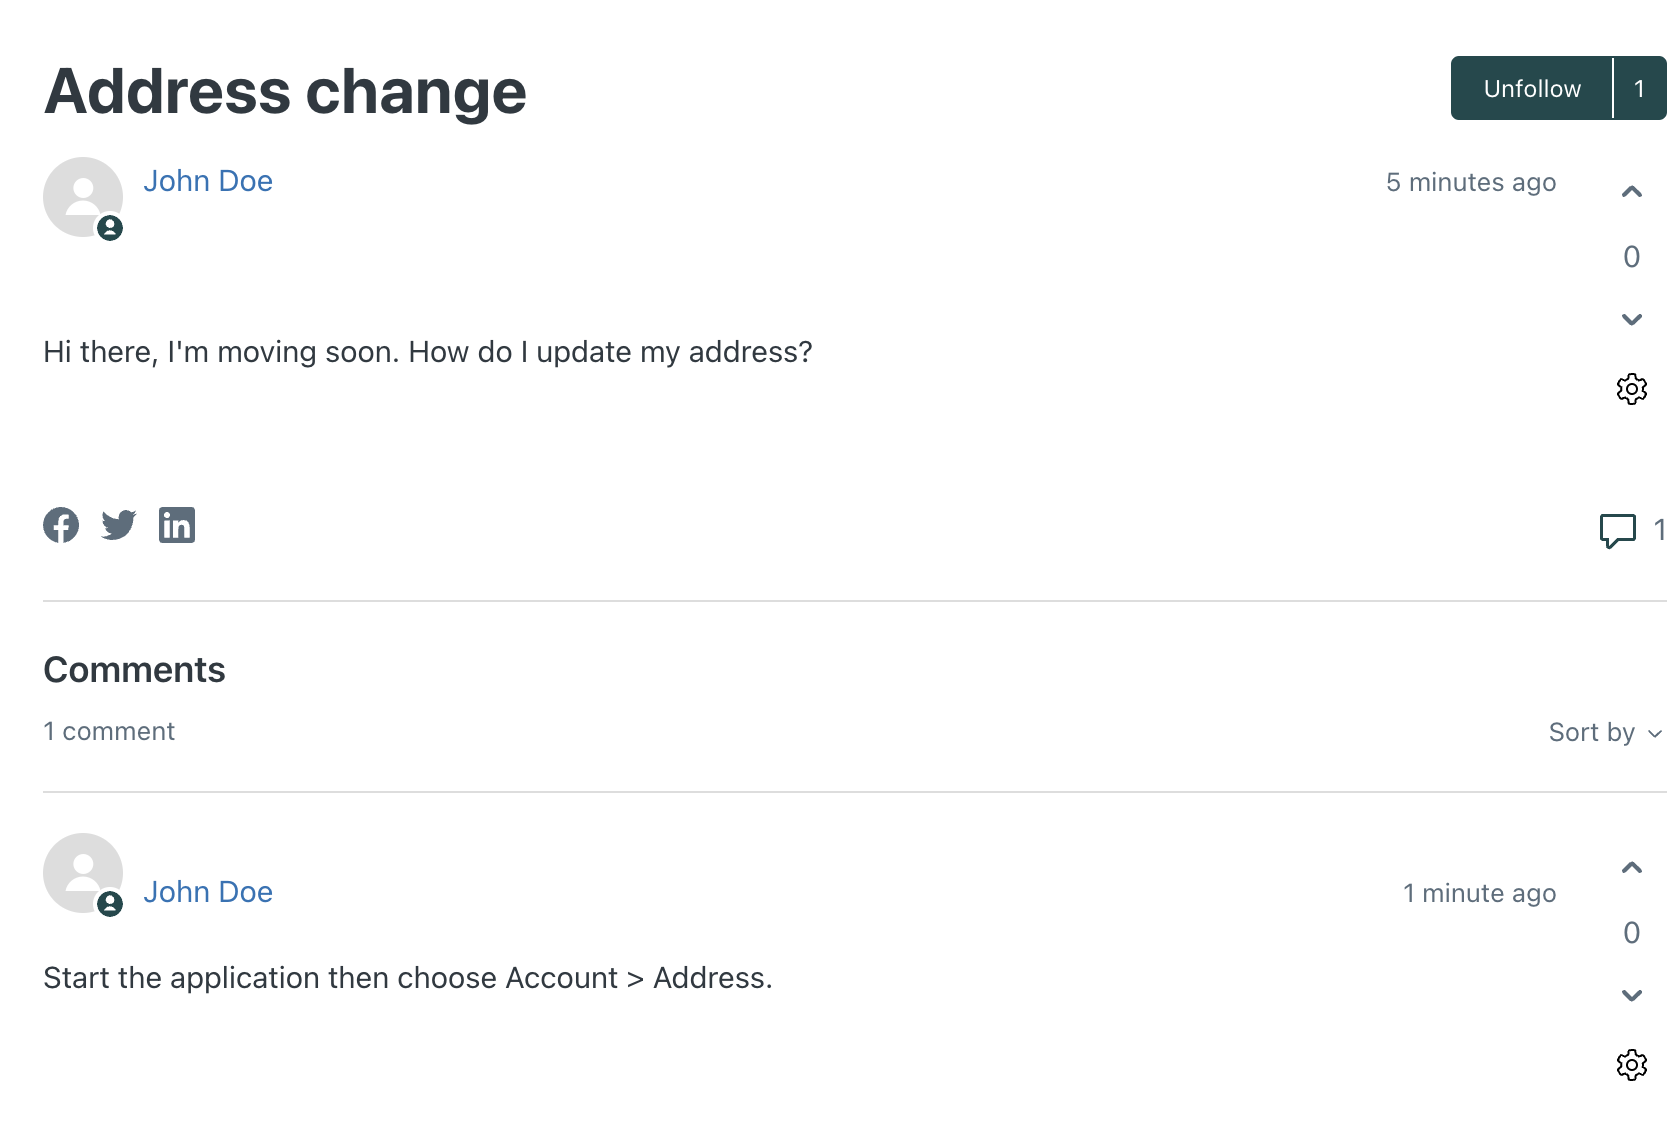
After a moment, the agent's comment appears as a reply to the original post in the community:

Setting up your development environment
To build the community channel in this project, you'll need the following:
-
Zendesk Support
You'll need access to a Zendesk account on the Zendesk Suite Professional plan or above. You can get a free, 15-day trial account. If you're interested in becoming a Zendesk developer partner, you can convert your trial account into a sponsored Zendesk Support account.
You'll also need agent or admin permissions in the account to use the API.
-
Zendesk Gather
Zendesk Gather, the community forum component of your help center. Zendesk Guide customers who were subscribed to Guide Professional or Enterprise before October 3, 2019, are on the Gather Legacy plan, which meets this requirement. For more information, see About Gather plan types.
If you don't have Gather, you can get a free trial.
-
Python 3.7 or higher
The channel in this project is built using Python. To install the latest version, see http://www.python.org/download/.
-
Requests library
Download and install the Requests library for Python. The Requests library simplifies making HTTP requests in Python. To install it, run the following command in your shell:
pip3 install requests -
Arrow library
Download and install the Arrow library for Python. Arrow provides a friendlier, more streamlined way of working with dates and times. To install it, run the following command in your shell:
pip3 install arrow -
Bottle framework
Bottle is a minimalist web framework for building web applications with Python. You'll use it in this tutorial to build and test your integration service. Bottle includes a built-in development server that you can use to test your changes locally. To install Bottle, run the following command in your shell:
pip3 install bottle -
Python-dotenv library
Download and install the Python-dotenv library for Python. The package lets you read environment variables from a .env file using standard Python functions, such as
os.environ.get(). To install Python-dotenv, run the following command in your shell:pip3 install python-dotenv -
The Zendesk Command Line Interface (ZCLI). You'll use ZCLI to create a Zendesk app to install your channel in Zendesk Support. To install or upgrade ZCLI, see Installing and updating ZCLI. You also need to authenticate ZCLI with your Zendesk account. See Authentication in the ZCLI documentation.
ZCLI replaces the Zendesk Apps Tools (ZAT), which are in maintenance mode. To use ZAT instead, refer to Installing and using ZAT.
-
A Glitch account. You'll use Glitch to deploy and host your integration service. To create an account, see Creating an Account in the Glitch documentation.
Next part: Creating the integration service