Build a channel from scratch - Part 4: Building the admin interface
The last requirement for a channel is a user interface that lets admins add and configure your channel in Support. The admin interface consists of an HTML page with a form to specify the settings of the channel.
The Channel framework lets you iframe your HTML interface into Support. Zendesk needs to know the URL of the HTML file to pull into the iframe. You specify the URL in a manifest file that Zendesk can access on the internet. (The URL of the manifest file itself is specified in the channel installer you create in the next article.)
In this article, you build the admin interface for your community channel. To keep it simple, admins will only have one setting to configure: the id of the community topic where they want new posts to become tickets.
You also create the channel manifest file.
Topics covered:
- Creating the route to the admin interface
- Creating the admin interface
- Processing the admin settings
- Creating the channel manifest
This is the fourth part of a project to build a channel from scratch:
- Part 1: Getting started
- Part 2: Creating the integration service
- Part 3: Connecting to the community
- Part 4: Building the admin interface - YOU ARE HERE
- Part 5: Deploying the channel
Disclaimer: Zendesk provides this article for demonstration and instructional purposes only. The channel developed in the article should not be used in a production environment. Zendesk does not provide support for developing a channel.
Creating the route to the admin interface
In this section, you create a route Zendesk can use to request the HTML of your admin interface when an user in Zendesk wants to change a setting in your channel.
You'll create the route first because it receives data from Zendesk that needs to be processed before sending the admin interface to Zendesk.
To create the route to your admin interface
Paste the following route into the service.py file in your project folder and save.
...@route('/channels/community/admin_ui', method='POST')def show_admin_ui():return_url = request.forms['return_url']name = request.forms['name']if not name:name = 'Help Center community channel'topic_id = ''if 'metadata' in request.forms and request.forms['metadata']:metadata = request.forms['metadata']metadata = urllib.parse.unquote(metadata) # URL-decode the JSON valuemetadata = json.loads(metadata) # convert decoded JSON to dicttopic_id = metadata['topic_id']data = {'name': name,'topic_id': topic_id,'return_url': return_url}return template('admin', data=data)...
How it works
The route defines a /channels/community/admin_ui URL for the admin interface to be iframed into Zendesk Support. Zendesk makes a POST request for the page so the route only accepts POST requests.
Zendesk sends a return_url parameter in the post request. You'll need the URL in a callback to Zendesk to finalize the settings update. Accordingly, the show_admin_ui() function starts by getting the parameter:
return_url = request.forms['return_url']
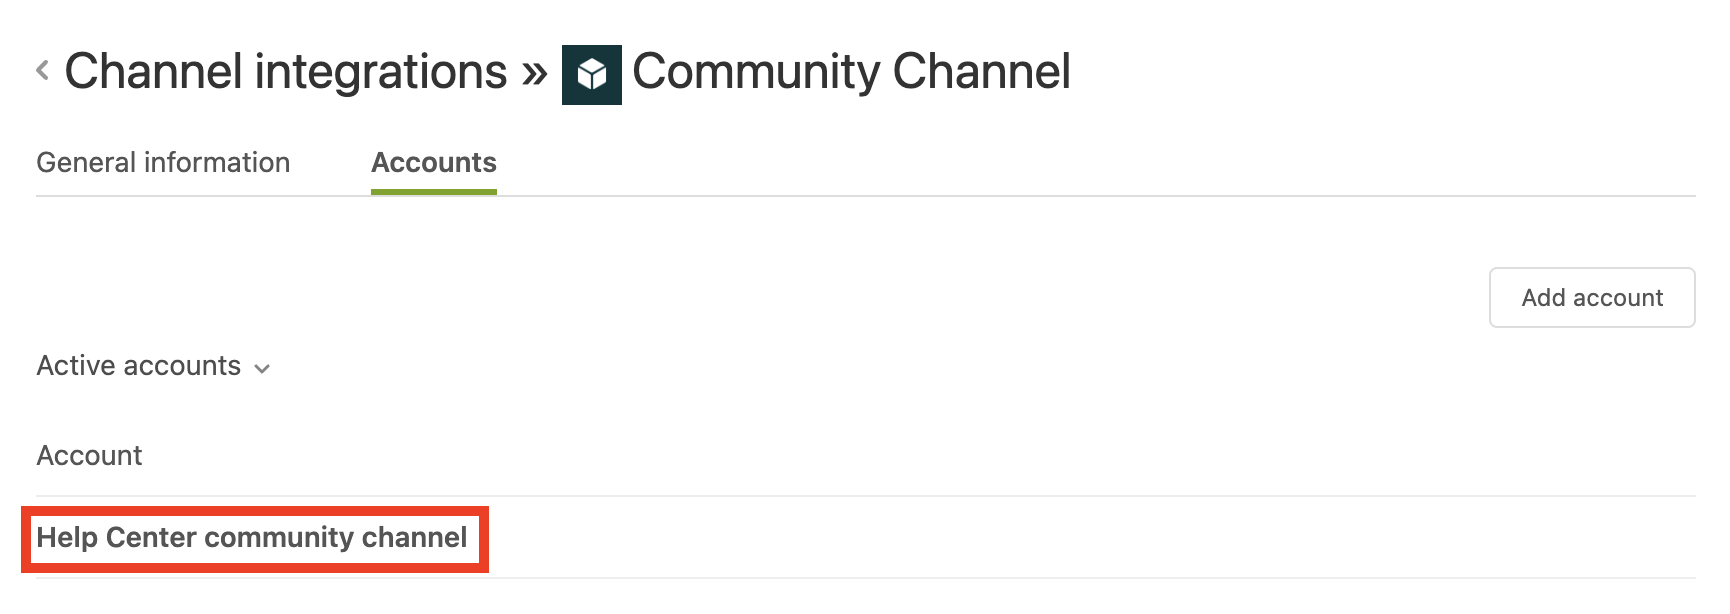
Like return_url, you must include name in the callback to Zendesk to finalize a settings update or the initial account setup. The initial name can be anything. It will appear in Support as an account name in the Channel Integrations page.
In the initial account setup, Zendesk will send an empty name parameter in the post request. Accordingly, the show_admin_ui() function gets the name parameter and sets it if it's an empty string.
name = request.forms['name']if not name:name = 'Help Center community channel'
Next, the function decides what to display in the topic id field in the admin interface. The function begins by setting an empty string for the topic id in case the value hasn't been set yet:
topic_id = ''
Later, you'll save the topic id entered by a user in the admin UI in the metadata parameter in Zendesk. For now, you check to see if the post request from Zendesk contains a metadata field and, if so, whether it's defined. The metadata field is not included in the initial post request so you have to check for it.
If the metadata field is present and defined, the function decodes its value and gets the existing topic_id setting from it:
if 'metadata' in request.forms and request.forms['metadata']:metadata = request.forms['metadata']metadata = urllib.parse.unquote(metadata) # URL-decode the JSON valuemetadata = json.loads(metadata) # convert decoded JSON to dicttopic_id = metadata['topic_id']
Finally, the function passes the name, return_url, and topic_id values to the admin template to create the admin UI:
data = {'name': name,'topic_id': topic_id,'return_url': return_url}return template('admin', data=data)
You build the admin template next.
Creating the admin interface
In this section, you create the HTML admin interface for your channel. An admin interface consists of an HTML page with a form to specify the settings of the channel.
The route in the previous section passes name, return_url, and topic_id parameters to a template named 'admin'. Accordingly, you create a template named admin to accept the parameters and create the HTML page at runtime.
To create the admin interface
-
Create a subfolder named views in your project folder.
-
In the views folder, create a text file name admin.tpl.
The .tpl extension denotes a Bottle template file. It's used to build an HTML page at runtime.
-
Add the following markup to the admin.tpl file:
<html><body><style type="text/css">body {padding:20px;margin:10px;font-family:"Helvetica Neue",Helvetica,Arial,sans-serif;font-size:13px;}input {margin-bottom: 10px;}</style><h3>Community Channel</h3><form method="post" action="/channels/community/settings"><div class="form-group"><label for="topic_id_field">Topic ID</label><br><input type="text" id="topic_id_field" name="topic_id" value="{{data['topic_id']}}"><br><input type="hidden" name="name" value="{{data['name']}}"><input type="hidden" name="return_url" value="{{data['return_url']}}"><input type="submit" value="Save" style="font-size:110%;"></div></form></body></html>The markup creates a UI that looks as follows when run and previewed in Postman:

The form lets an admin specify a topic id. The form uses a template expression to make the
valueattribute dynamic:value="{{data['topic_id']}}"If the admin has already set a topic id, it's displayed in the form field. Otherwise, an empty string is displayed.
The
nameandreturn_urlare embedded in the form as hidden fields:<input type="hidden" name="name" value="{{data['name']}}"><input type="hidden" name="return_url" value="{{data['return_url']}}">In other words, these values will be sent back to your service when the admin submits the form. You have to preserve the values through the transaction because you have to use them in a callback to Zendesk to finalize the settings update.
The form's
actionattribute indicates that the form submits the settings data to your integration service at /channels/community/settings. You build the route to process the form data in the next section.
Processing the admin settings
Your admin interface contains a form with an action attribute that submits the settings data with some hidden field values to your integration service at /channels/community/settings. The form data consists of following fields: topic_id, name, and return_url.
Your integration service must perform the following tasks when it receives the form data from your admin interface:
- Validate the topic id
- Save the topic id in the
metadataparameter in Zendesk - Include the
nameparameter with themetadataparameter in the callback to the Zendeskreturn_urlto finalize the update process
In this section, you add a /channels/community/settings route to your integration service to process the form data received from your admin interface.
To process the admin data
-
Paste the following route into the service.py file in your project folder and save.
...@route('/channels/community/settings', method='POST')def process_admin_settings():topic_id = request.forms['topic_id']if not topic_id or not topic_id.isdigit():return template('admin', data={'topic_id': 'invalid'})# set metadatametadata = {'topic_id': topic_id}# convert metadata dict to JSON, then URL encodemetadata = urllib.parse.quote(json.dumps(metadata))data = {'return_url': request.forms['return_url'],'name': request.forms['name'],'metadata': metadata}return template('admin_callback', data=data)...The
process_admin_settings()function receives thetopic_idvalue from your admin interface, performs some basic validation, and saves the value in themetadataparameter in Zendesk.The route then retrieves the
nameandreturn_urlvalues you stored in hidden form fields in the admin interface and passes them along withmetadatato a template named admin_callback, which will make a callback to the Zendeskreturn_urlto finalize the update process. You'll create the template in the next steps. -
In the views folder, create a file name admin_callback.tpl.
-
Add the following markup to the admin_callback.tpl file:
<html><body><form id="finish" method="post" action="{{data['return_url']}}"><input type="hidden" name="name" value="{{data['name']}}"><input type="hidden" name="metadata" value="{{data['metadata']}}"></form><script type="text/javascript">// post the formvar form = document.forms['finish'];form.submit();</script></body></html>The template defines a self-submitting HTML form that posts to the Zendesk
return_url. The form is never displayed in Zendesk. Instead, it submits thenameandmetadataparameters on load in Zendesk. Sending an HTML form instead of the data directly might seem unusual but it allows the data to be submitted from the same origin.The
nameparameter is required to finalize the update process.
Creating the channel manifest
The manifest file describes the capabilities of your channel and provides information that Zendesk Support needs to interact with it. You must make the manifest available at a known public URL so that Zendesk can access it.
In this section, you create the manifest file and make it available at a public URL.
To create the manifest file
-
Create a file called integration_manifest.json and save it in the same folder as your service.py file.
-
Add the following JSON object to the integration_manifest.json file and save it:
{"name": "Community Channel","id": "my-community-channel-abc123","version": "1.0.0","urls": {"admin_ui": "{glitch_url}/channels/community/admin_ui","pull_url": "{glitch_url}/channels/community/pull","channelback_url": "{glitch_url}/channels/community/channelback"}}See Manifest Format in the dev docs for details about the property values.
The
idmust be unique for each channel. For the tutorial, include some random numbers or letters.Later in the tutorial, you'll replace
{glitch_url}with the URL for your channel in Glitch. -
In your service.py file, add the following route:
...@route('/channels/community/manifest')def serve_manifest():file = Path('integration_manifest.json')with file.open(mode='r') as f:manifest = json.load(f)response.headers['Content-Type'] = 'application/json'return manifest...The
serve_manifest()function opens the JSON file, reads it, and returns the contents in the HTTP response.
You finished the admin interface and manifest for your channel. All that's left is to deploy the channel.
Next part: Deploying the channel