API quickstart
Introduction
This quick start guide provides an introduction to Sunshine Conversations' REST API. When you complete the guide, you'll know how to send and receive messages programmatically to users on your Web Widget.
You can also find the complete code for this walkthrough at https://github.com/zendesk/sunshine-conversations-api-quickstart-example.
Important: The following quick start guide will configure a webhook listener that auto-replies to all user messages. Make sure to do this in your Sandbox account or an environment that does not receive traffic from your actual users.
Step 1 - Install the Web Widget
For instructions, see installing the Web Widget for messaging. The quickest way to get started is by embedding the Web Widget in your help center, but you can also install it into your webpage or a test site if you prefer.
Step 2 - Deploy a server
Next, deploy a server and expose a POST /messages endpoint to receive user messages. All you want to do for now is log those messages.
The server is developed using Node.js and uses a service called ngrok to create a secure tunnel to localhost. For the complete code, see https://github.com/zendesk/sunshine-conversations-api-quickstart-example.
Step 3 - Create a webhook
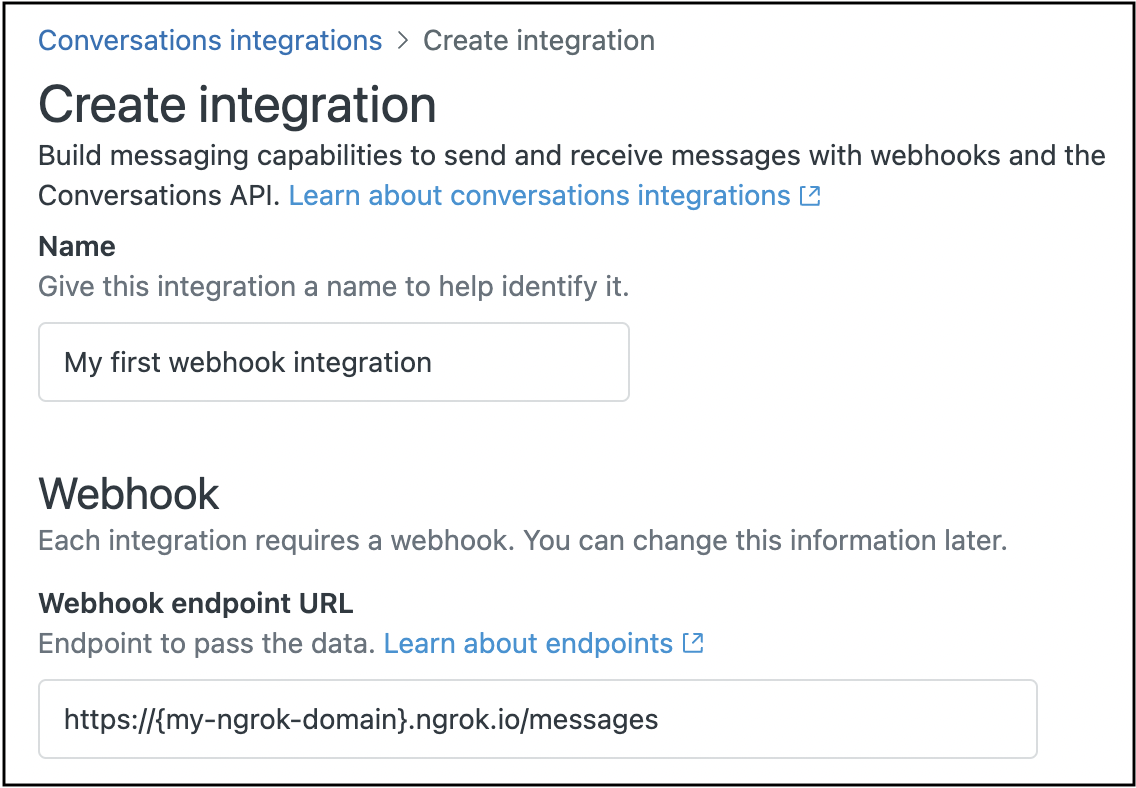
When your server is listening for requests, follow the instructions in Creating conversations integrations in Admin Center to set up a conversations integration in Admin Center. When prompted for the webhook endpoint URL, enter the full URL for your /messages endpoint (https://MY-NGROK-DOMAIN.ngrok.io/messages).
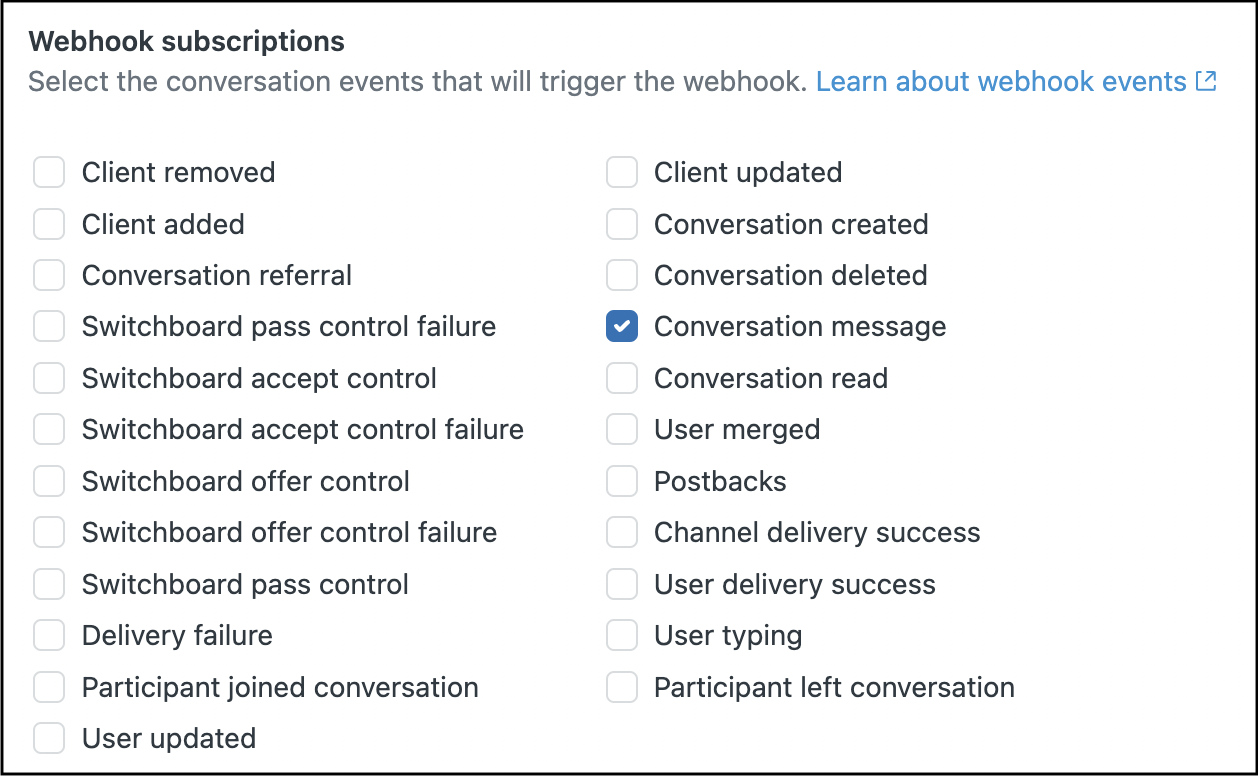
In the list of webhook subscriptions, select the "Conversation message" trigger.
As soon as you click Save, an HTTP HEAD request is sent to the root domain of the provided URL to verify that the domain exists and that a service is running.
Note: If the server fails to respond (for example, the server does not exist, DNS resolution fails, the connection times out, etc.), or responds with a status code of 502 Bad Gateway, a second request will be made to the provided domain. If the second request is also unsuccessful, the target is considered to be inaccessible, and webhook creation will fail.
After the creation of the integration is complete, you'll be able to inspect all messages you're receiving from your Web Widget. Try sending a message from your help center or website. When you check your server logs, you'll see the payload.
Step 4 - Send a message to a user with the REST API
To send a response, use the REST API. Each time a webhook payload is received by your server on the /messages route, you can use the REST API to send a message back to the conversation that triggered that webhook.
To send a message via the REST API, call the POST Message endpoint. Identify the conversation to which you want to send the message. Examine the webhook payload you'll receive for the conversation:message event.
You'll also need some Basic Auth credentials. If you haven't already done so, open the Conversations Integrations page to add an API key to the integration you created earlier. See creating conversations integrations in Admin Center for instructions on how to create an API key.
To send a message to the user, take the conversation's and app's id property from the webhook payload, and POST a message to the following endpoint:
https://{subdomain}.zendesk.com/sc/v2/apps/{app_id}/conversations/{conversation_id}/messages
Here's an example of calling the POST Message endpoint with curl (make sure to use your own subdomain, API key and the relevant IDs):
curl https://{subdomain}.zendesk.com/sc/v2/apps/{app_id}/conversations/{conversation_id}/messages \-X POST \--user '{key_id}:{secret}' \-H 'content-type: application/json' \-d '{"author": {"type": "business"},"content": {"type": "text","text": "Live long and prosper"}}'
You can also take a look at the complete code which adds this send message function as a response to an incoming user message webhook.
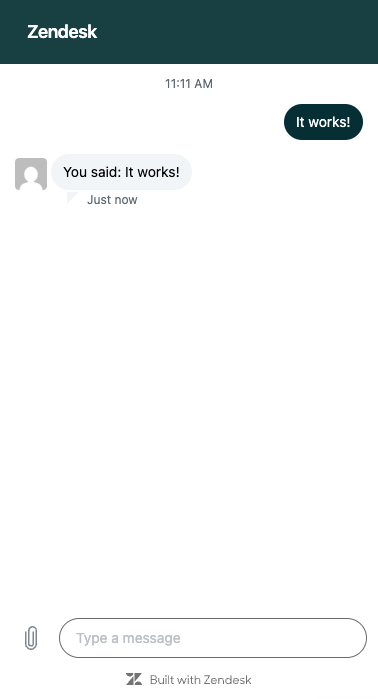
Now, whenever someone sends a message to your Web Widget, you should receive your auto response back:
Next steps
You should now have a working back-and-forth integration with messaging. Below are some suggestions for next steps to further explore the capabilities of the platform:
- In this walkthrough, we only subscribed to one webhook event -
conversation:message. Try subscribing to some other ones and inspecting the payloads you receive. - The auto-responder we built simply echoes the user's text back to them, but there are plenty of other supported message types besides
text. Try crafting some more complicated messages like a carousel or quick reply buttons. - Read some of our guide pages such as delivery events or sending messages to continue learning about how to build your desired experience.