Web Widget embedded mode
Web Widget embedded mode
By default, the Web Widget renders in floating mode, which displays it as an overlay in the corner of your page. Embedded mode lets you integrate the widget directly into your page layout by rendering it inside one or more HTML containers you specify.
In embedded mode, the widget automatically adjusts its width and height to fit the container's dimensions and remains in the DOM as long as the container is present. This gives you full control over where and how the widget appears, making it ideal for custom support pages, dashboards, or in-app help experiences.
Enabling embedded mode
To integrate the widget directly within your page layout, follow these steps.
-
Disable auto-rendering.
To prevent the widget from automatically rendering in floating mode, include the following script in your HTML before the widget loads:
<script>window.zEMessenger = {autorender: false}</script> -
Create container elements.
Add the HTML elements where you want the widget to appear. You can use any CSS selector, such as an ID or class, to define your containers.
<div id="my-messenger-container"></div> -
Render the widget in embedded mode.
After the widget loads, call the render method to display the widget within your chosen container:
zE("messenger", "render", {mode: "embedded",widget: {targetElement: "#my-messenger-container"}})
Embeddable components
You can embed three different messenger components, either individually or in combination, to create a layout that fits your application's needs:
- Full widget: The complete messenger experience with conversation list, messages, and header
- Conversation list: Just the list of conversations
- Message log: Only the message thread for a selected conversation
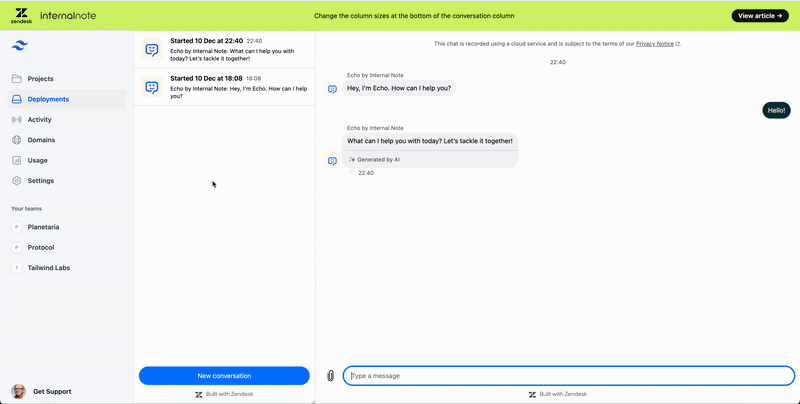
Full widget
Embeds the entire messenger interface in your container.
zE("messenger", "render", {mode: "embedded",widget: {targetElement: "#full-widget-container"}})
Conversation list
Displays only the conversation list.
zE("messenger", "render", {mode: "embedded",conversationList: {targetElement: "#conversations-container"}})
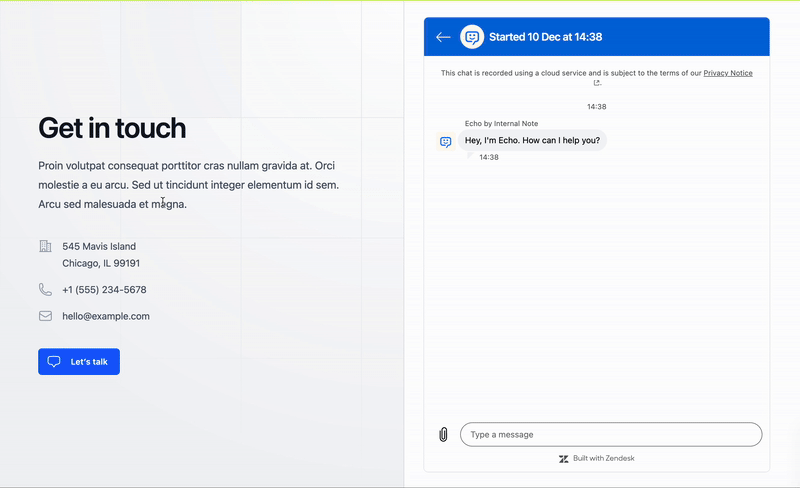
Message log
Shows the messages for the selected conversation.
zE("messenger", "render", {mode: "embedded",messageLog: {targetElement: "#messages-container"}})
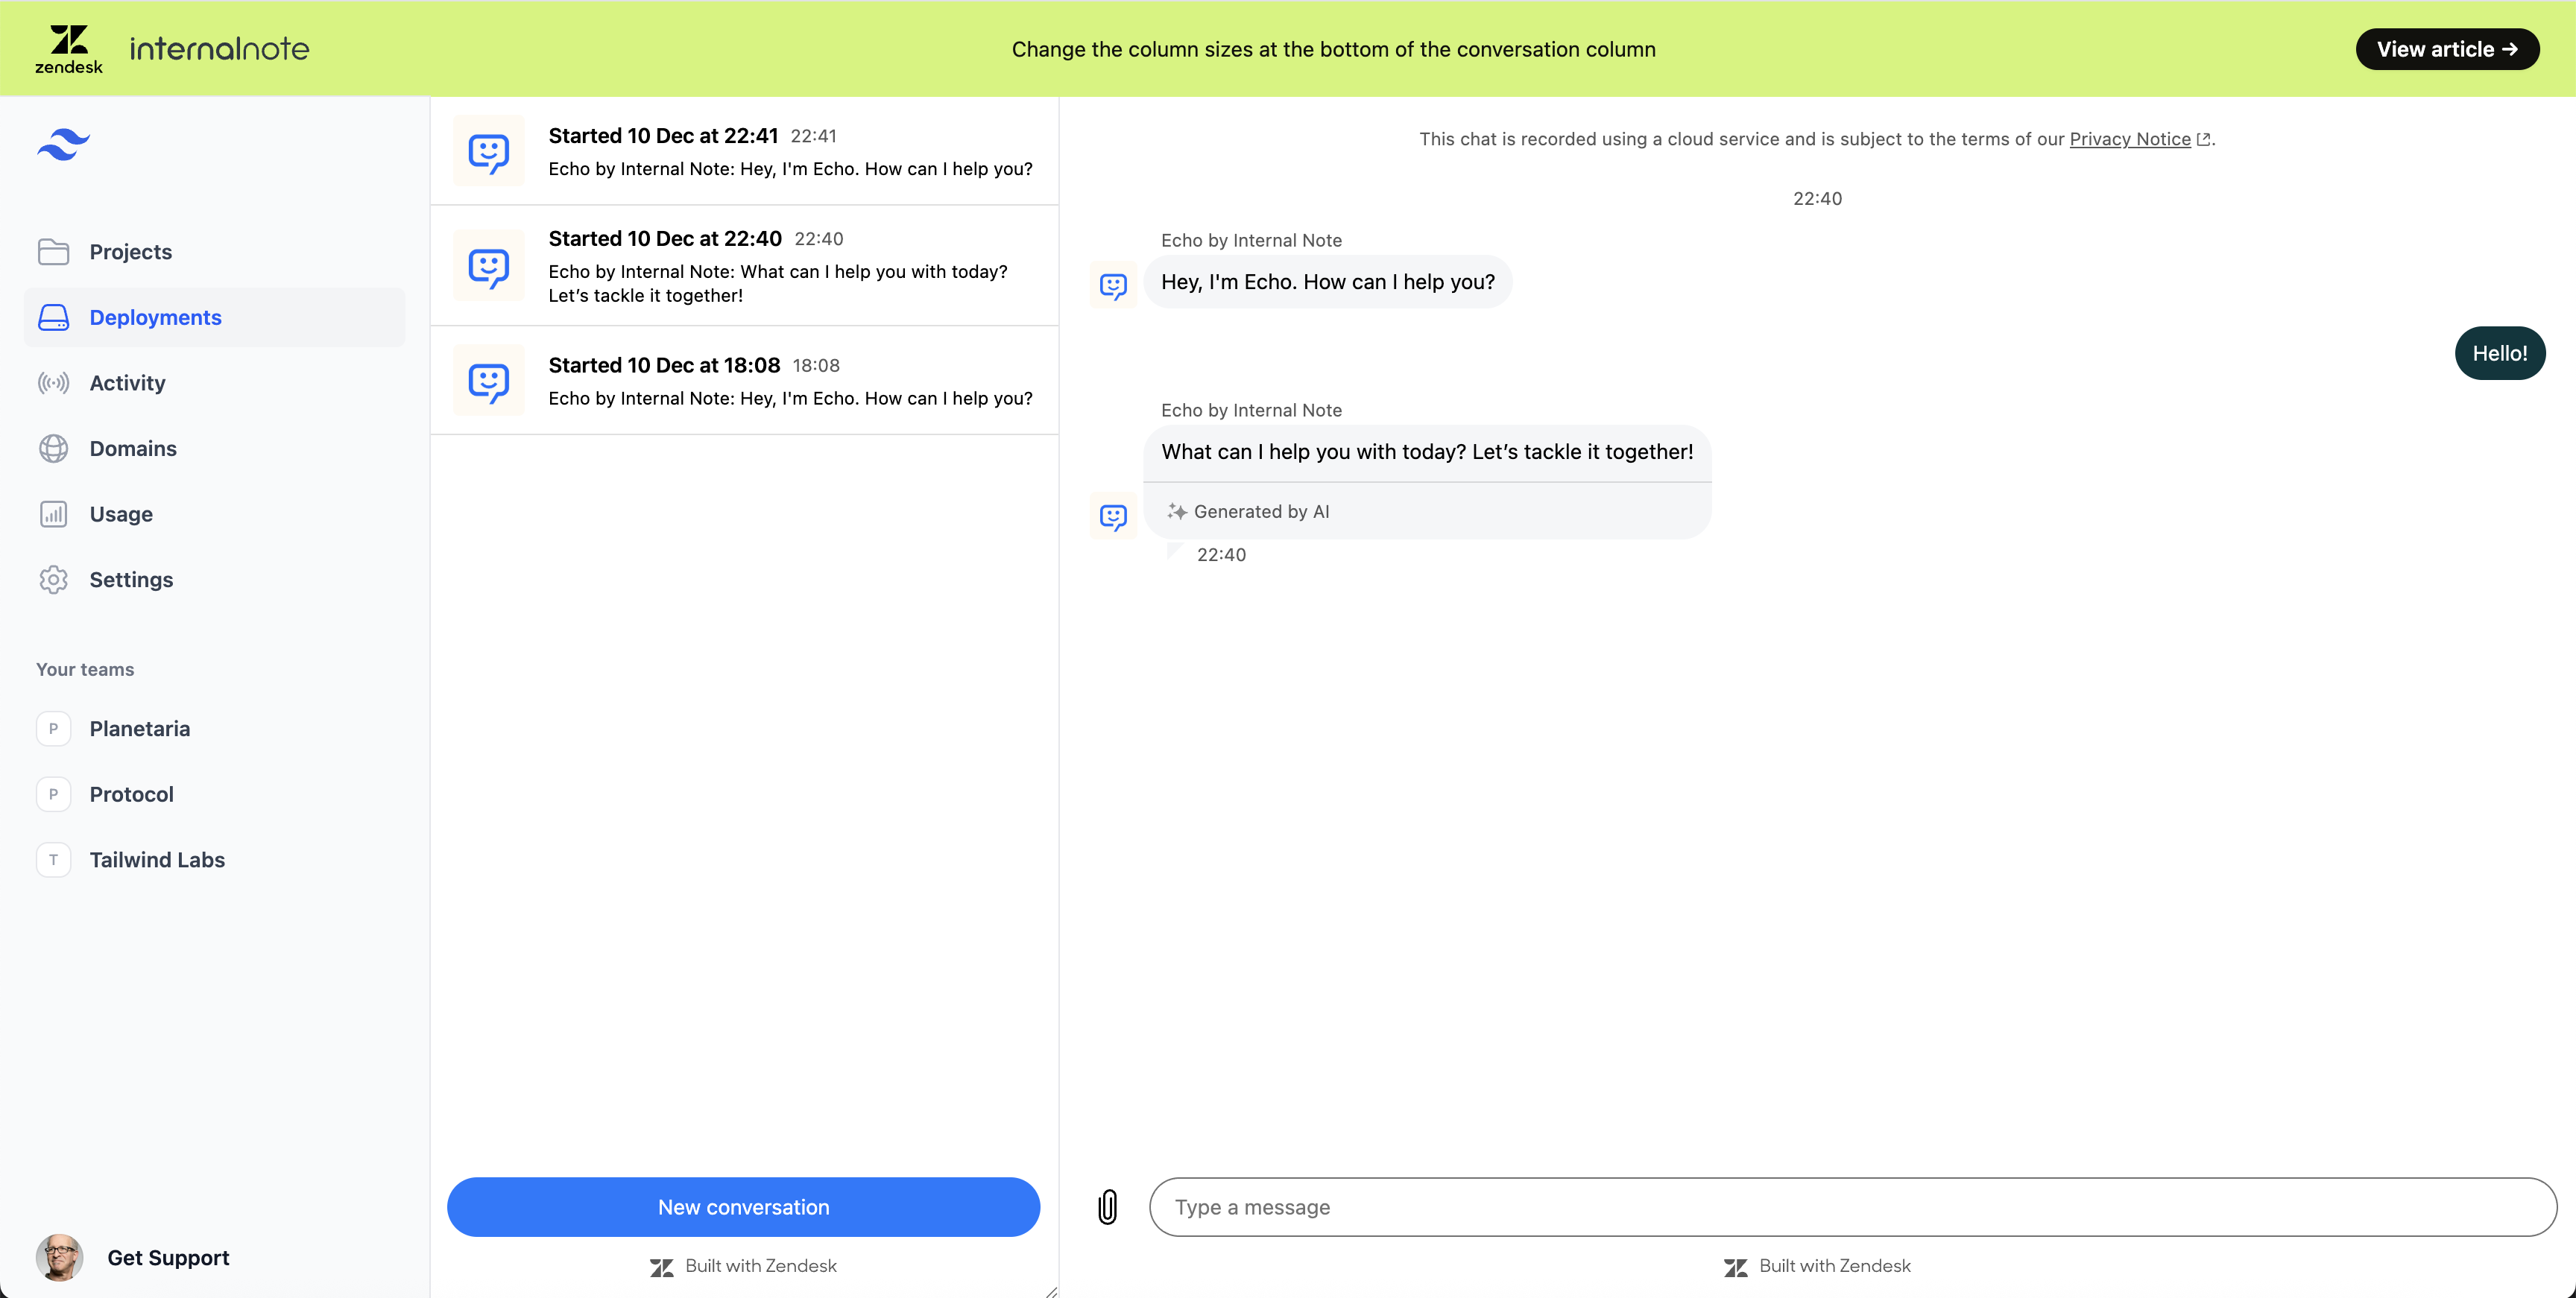
Combining components
For custom layouts, you can combine components. For example, you can create a split view where the conversation list appears in one section and the message log in another:
zE("messenger", "render", {mode: "embedded",conversationList: {targetElement: "#left-sidebar"},messageLog: {targetElement: "#main-content"}})
This layout is ideal for desktop or wide-screen interfaces, allowing users to browse and manage conversations efficiently.
Container availability
Make sure the HTML container element is present in the DOM before calling zE('messenger', 'render', config). If the element is missing, an error will be logged in the console.
Tip for Single Page Applications (SPAs): Render the widget within the appropriate component lifecycle. For example, use useEffect in React, mounted in Vue, or ngAfterViewInit in Angular.
Customization options
The Customization API includes settings designed for embedded mode. These options provide flexibility for customizing the widget's appearance and behavior:
- Hide headers: Remove headers from the conversation list, message log, or both. See hideHeader.
- Content scaling: Adjust the widget's content size for accessibility or different screen sizes. See contentScale.
- Hide new conversation button: Remove the button to create new conversations from the conversation list. See hideNewConversationButton.

Common configurations
| Configuration | Code |
|---|---|
| Full widget in container | { mode: 'embedded', widget: { targetElement: '#container' } } |
| Split view (list + messages) | { mode: 'embedded', conversationList: { targetElement: '#list' }, messageLog: { targetElement: '#messages' } } |
| Revert to floating mode | { mode: 'floating' } or zE('messenger', 'render') |
You can find more demos and examples of embedded mode here.
Limitations
- No mixing modes on the same page: Embedded and floating modes should not be used together on the same page. Calling
zE('messenger', 'render', { mode: 'floating' })after rendering in embedded mode will not convert the widget back to floating mode and may cause unexpected behavior. Use a single mode per page. - Container targeting: The widget can only be embedded by specifying a CSS selector or element ID. Passing an object reference to define the target container is not supported yet.
- Error handling: If an error occurs while rendering the widget in embedded mode, it will be logged to the console. It is not possible to programmatically detect or handle these errors yet.
- Conversation API: The Create New Conversation API is available in embedded mode, but only after the widget has already been rendered.
- Unread Messages API: The Unread Messages API cannot be accessed until the widget has finished rendering.
- Proactive messages: Proactive messages are not visible in embedded mode.
- Header controls: If you choose to hide the header, be aware this may affect certain features. Hiding the header is recommended only if you are splitting the widget into separate components (such as the conversation list and message log), or for a single-conversation layout.
Troubleshooting
If the widget does not appear, try the following:
- Check the console: Look for error messages that might indicate what's wrong.
- Verify the container exists: Use your browser's DevTools to confirm the container element is present on the page.
- Check the selector: Test your CSS selector in DevTools using
document.querySelector('#my-container')to ensure it matches the intended element. - Timing: Make sure you call
zE('messenger', 'render', config)only after the widget has completely loaded. You can use thereadyevent to determine when the widget is ready to render.