Quick start - Opening the messaging Web Widget in a popup screen
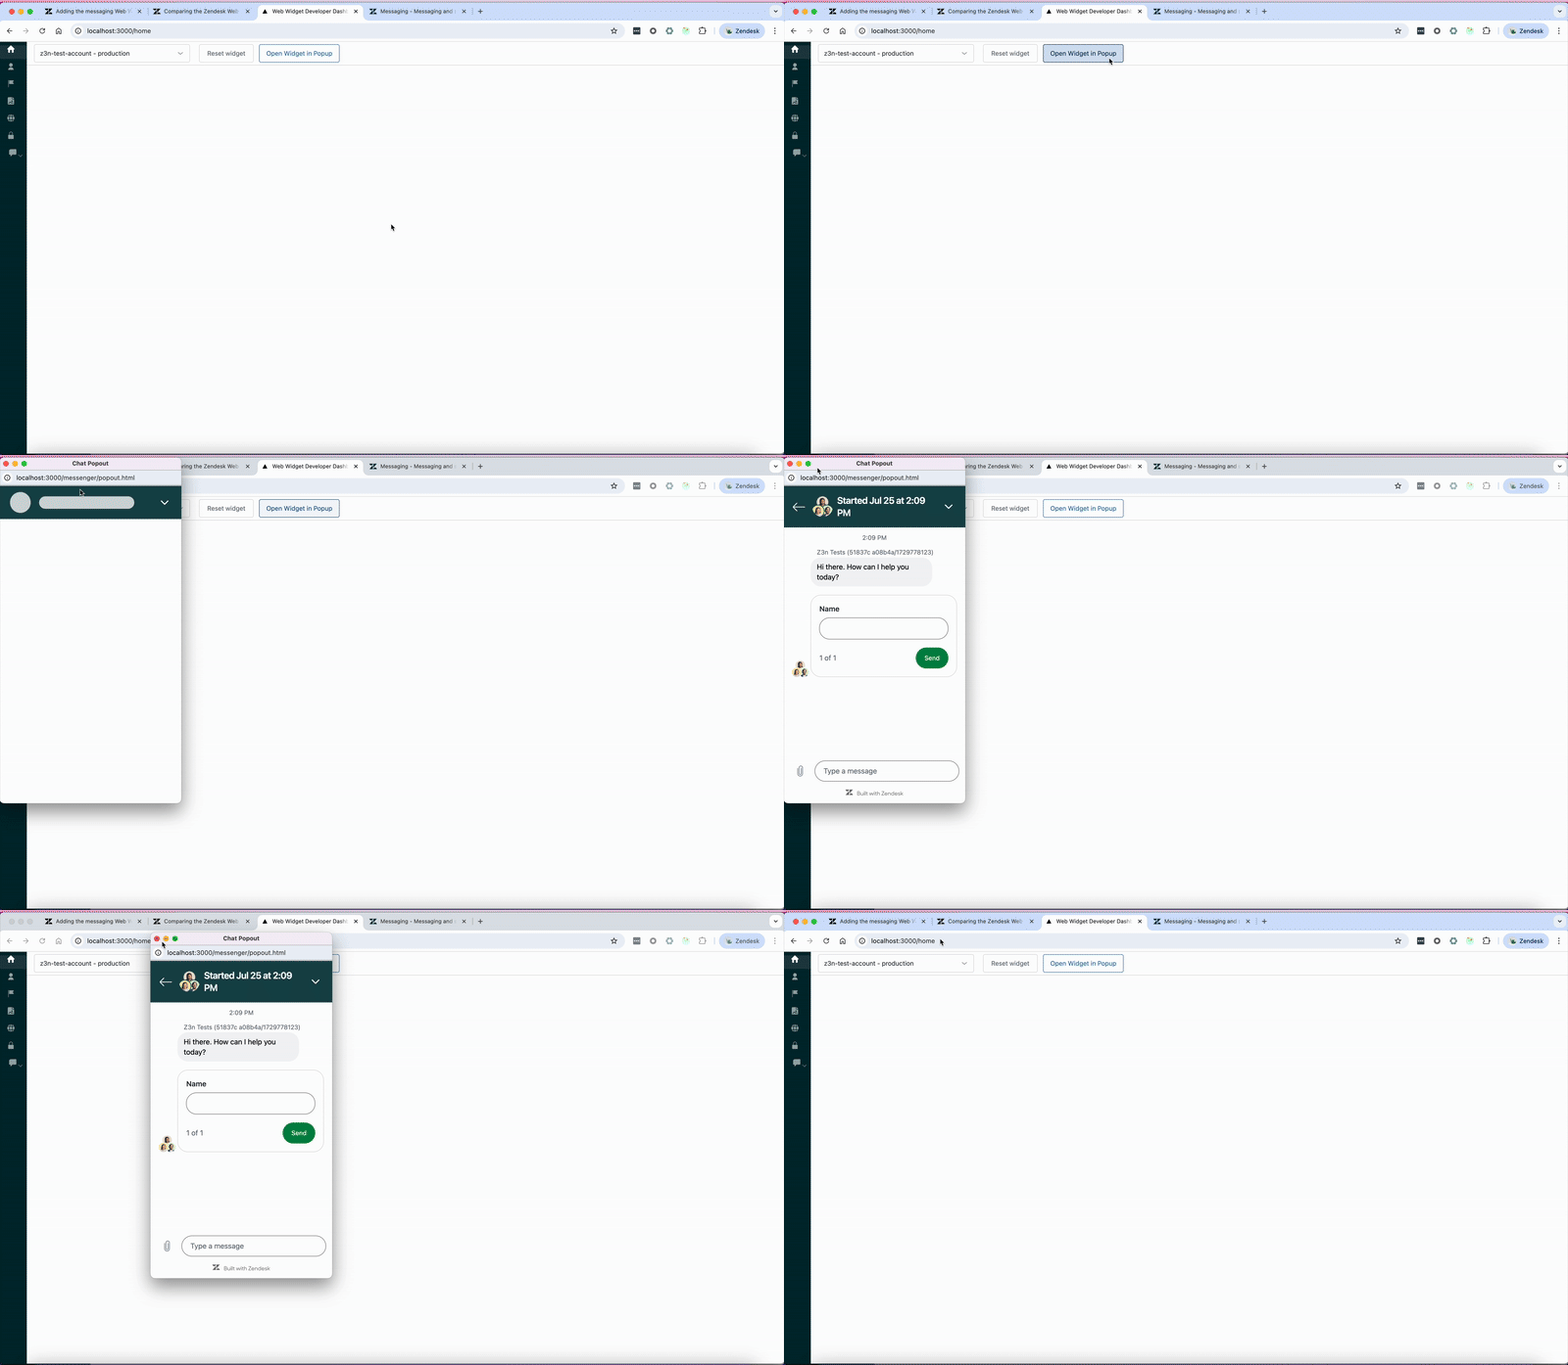
This quick start tutorial gives you step-by-step instructions for opening the messaging Web Widget in a popup screen. This might be useful when you want a user on your website to open the widget in a new window.
This tutorial uses the Open method of the Web Widget API. The Web Widget API is a client-side JavaScript API that you can use in your website to customize your widget.
Though not necessary to work through this quick start, a general understanding of HTML and JavaScript is recommended. For more information, see HTML Introduction and JavaScript MDN.

Create the element to trigger the widget
The user has to somehow trigger the Web Widget to open in a new window. For the purpose of this tutorial, the trigger is when a user clicks a specific button.
The following example adds a button element to a page and creates the trigger.
<!DOCTYPE html><html lang="en"><head><title>Your web page</title></head><body><button id="widget-trigger-button">Click here to open the widget</button></body><script>document.getElementById('widget-trigger-button').onclick = () => {window.open('your-link-to-the-page-with-the-widget', 'popout', 'width=400,height=700');};</script></html>
Create the page with embedded Widget
The window.open function in the example above uses the string 'your-link-to-the-page-with-the-widget' as a placeholder for the url. Replace it with the url to the page with your widget, which you will create next.
To create the page that contains your messaging Web Widget
- Create a new HTML page on your website.
- Embed the Web Widget in the page using the installation script from Admin Center. See the steps below.
- Use the
zE('messenger', 'open')method to make sure the Web Widget automatically opens in the popup window.
To get the Web Widget installation script
-
In Admin Center, click Channels in the sidebar, then select Messaging and social > Messaging.
-
Click your Web Widget channel name, then click the Installation tab.
-
Click the Copy icon at the bottom of the code snippet frame.
Example popup page with a Web Widget:
<!DOCTYPE html><html lang="en"><head><meta charset="UTF-8" /><title>Widget Popout Window</title><style>html,body {margin: 0;padding: 0;height: 100%;overflow: hidden;}</style></head><body><script id="ze-snippet"src="https://static.zdassets.com/ekr/snippet.js?key=YOUR_SNIPPET_KEY"></script><script>window.zE = window.zE || function () {(zE.q = zE.q || []).push(arguments)}zE('messenger', 'open')</script></body></html>
Disclaimer: Zendesk provides this article for instructional purposes only. Zendesk can't provide support for third-party technologies such as JavaScript. Please post any issues in the Zendesk SDKs community, or search for a solution online.