Building your first Sell app - Part 5: Installing the app in Zendesk Sell
This tutorial is part of a series on building a Zendesk Sell app:
- Part 1: Laying the groundwork
- Part 2: Designing the user interface
- Part 3: Creating and inserting templates
- Part 4: Getting data
- Part 5 - Installing the app in Zendesk Sell - YOU ARE HERE
If you followed along in the series, you should now have a working Sell app that you built from scratch. In this tutorial, you'll install the app in your instance of Zendesk Sell. The tutorial will also show you how to validate the app and then package it for uploading.
You can only upload and install private Sell apps on the Sell Growth plan and above. The Sell account must also be linked to a Zendesk Support account.
Validating the app
After thoroughly testing your app with the ZCLI server, you can validate that the app is ready for uploading.
To validate your app
-
In your command line interface, navigate to your related_leads folder.
-
Run the following command:
$ zcli apps:validateNote: If the command prompt isn't displayed, make sure you shut down the ZCLI server by pressing Ctrl+C.
-
Fix any problems reported by the tool, then run validate again.
Packaging the app
The next step is to package the app in a ZIP file that you can upload to your instance of Zendesk Sell.
To package your app
- Run the following command in your related_leads folder:
$ zcli apps:package
ZCLI packages the app in a ZIP file and saves it in a tmp folder in your app root folder.
Uploading and installing the app in Zendesk Sell
At last you're ready to upload and install the app in your instance of Zendesk Sell. You must be on the Sell Growth plan or above, and your Sell account must be linked to a Zendesk Support account.
To upload and install the app
-
Sign in to your Support account, click on the Product Tray, and launch Sell.
-
In the Sell interface, go to Settings > Integrations > Apps.
-
Click Upload private app.
-
Enter the name of your app (Related Leads).
-
Click Choose File and select the ZIP file of your app. ZCLI placed the ZIP file in the tmp folder in your related_leads folder.

-
Click Upload, agreeing to the risks and limitations.
-
When prompted, click Install.
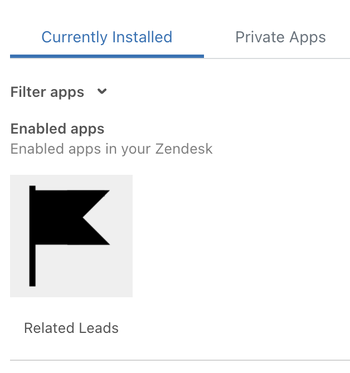
When the process is complete, your app should appear as a private app in your list of installed apps.
Next steps
The best way to learn is to plan, design, and build your own apps. You can use the following resources along the way:
- Getting started - A quick overview of the Apps framework
- Setting up new apps - How to create starter files for your apps with ZCLI or manually
- Using the Apps framework - A concise developer guide
- Deploying apps - Information on branding, uploading, and localizing your apps
- ZAF Client API - A reference of the Zendesk Apps framework (ZAF) JavaScript client
- ZAF Core API - A reference of core events, actions, and properties available in all locations in all products that support ZAF
- ZAF Sell API - A reference of the app locations, properties, and events you can use in apps running in Zendesk Sell
You can also look for answers or ask questions in the Zendesk Apps framework (ZAF) community.