Quickstart - Dynamically change Web Widget (Classic) settings
Web Widget (Classic) APIs consist of client-side settings to change the properties of the Web Widget (Classic), or commands to perform actions. Typically, API settings are set on widget page load. However, the updateSettings API allows you to customize widget API settings during runtime. This is particularly useful for single page applications (SPAs) where you can dynamically change the widget settings based on user actions.
This tutorial shows a few examples implementing the updateSettings API.
Related information:
Requirements
-
CodePen, a free online code editor. While this tutorial uses CodePen, you can use other code editors such as JSFiddle and JS Bin.
-
A Zendesk Support account with Chat or a trial account. You can request a sponsored test account that doesn't expire after 14 days like the trial account.
-
Supported web browsers for the widget, as described in Using Web Widget (Classic) to embed customer service in your website.
Getting started
To demonstrate how the updateSettings API can be used, you will create a SPA. For the widget, Contact Form, Chat, and Help Center will be enabled.
To set up the Web Widget and web page
-
In Admin Center, go to Channels > Classic > Web Widget, select the Customization tab, and turn on Contact Form, Chat, and Help Center.

-
In your web browser, go to https://codepen.io/pen/, and create a new pen.
-
In the HTML editor, paste the following code. Replace
{YOUR_KEY}with the widget key provided in Support > Admin > Channels > Widget > Setup tab.
<html><head><meta charset="utf-8"></head><body><!-- dynamic content placeholder --><div id="content" style="padding-top: 20px;"></div><!-- Web Widget --><script id="ze-snippet" src="https://static.zdassets.com/ekr/snippet.js?key={YOUR_KEY}"></script><!-- hello template --><script id="hello-template" type="text/x-handlebars-template"><p>Hello!</p><a id="link-goodbye" href="#">I'm finished reading this page!</a></script><!-- goodbye template --><script id="goodbye-template" type="text/x-handlebars-template"><p>Goodbye!</p><a id="link-hello" href="#">No, take me back!</a></script><!-- show templates --><script src="https://cdn.jsdelivr.net/npm/[email protected]/dist/handlebars.min.js"></script><script>(function () {// showHello functionfunction showHello() {var source = document.getElementById("hello-template").innerHTML;var template = Handlebars.compile(source);document.getElementById("content").innerHTML = template();var linkGoodbye = document.getElementById("link-goodbye");linkGoodbye.addEventListener("click", showGoodbye);}// showGoodbye functionfunction showGoodbye() {var source = document.getElementById("goodbye-template").innerHTML;var template = Handlebars.compile(source);document.getElementById("content").innerHTML = template();var linkHello = document.getElementById("link-hello");linkHello.addEventListener("click", showHello);}// show hello content to startshowHello();})();</script></body></html>
The page creates dynamic content by switching Handlebars templates in response to click events. See the code comments for the implementation details.
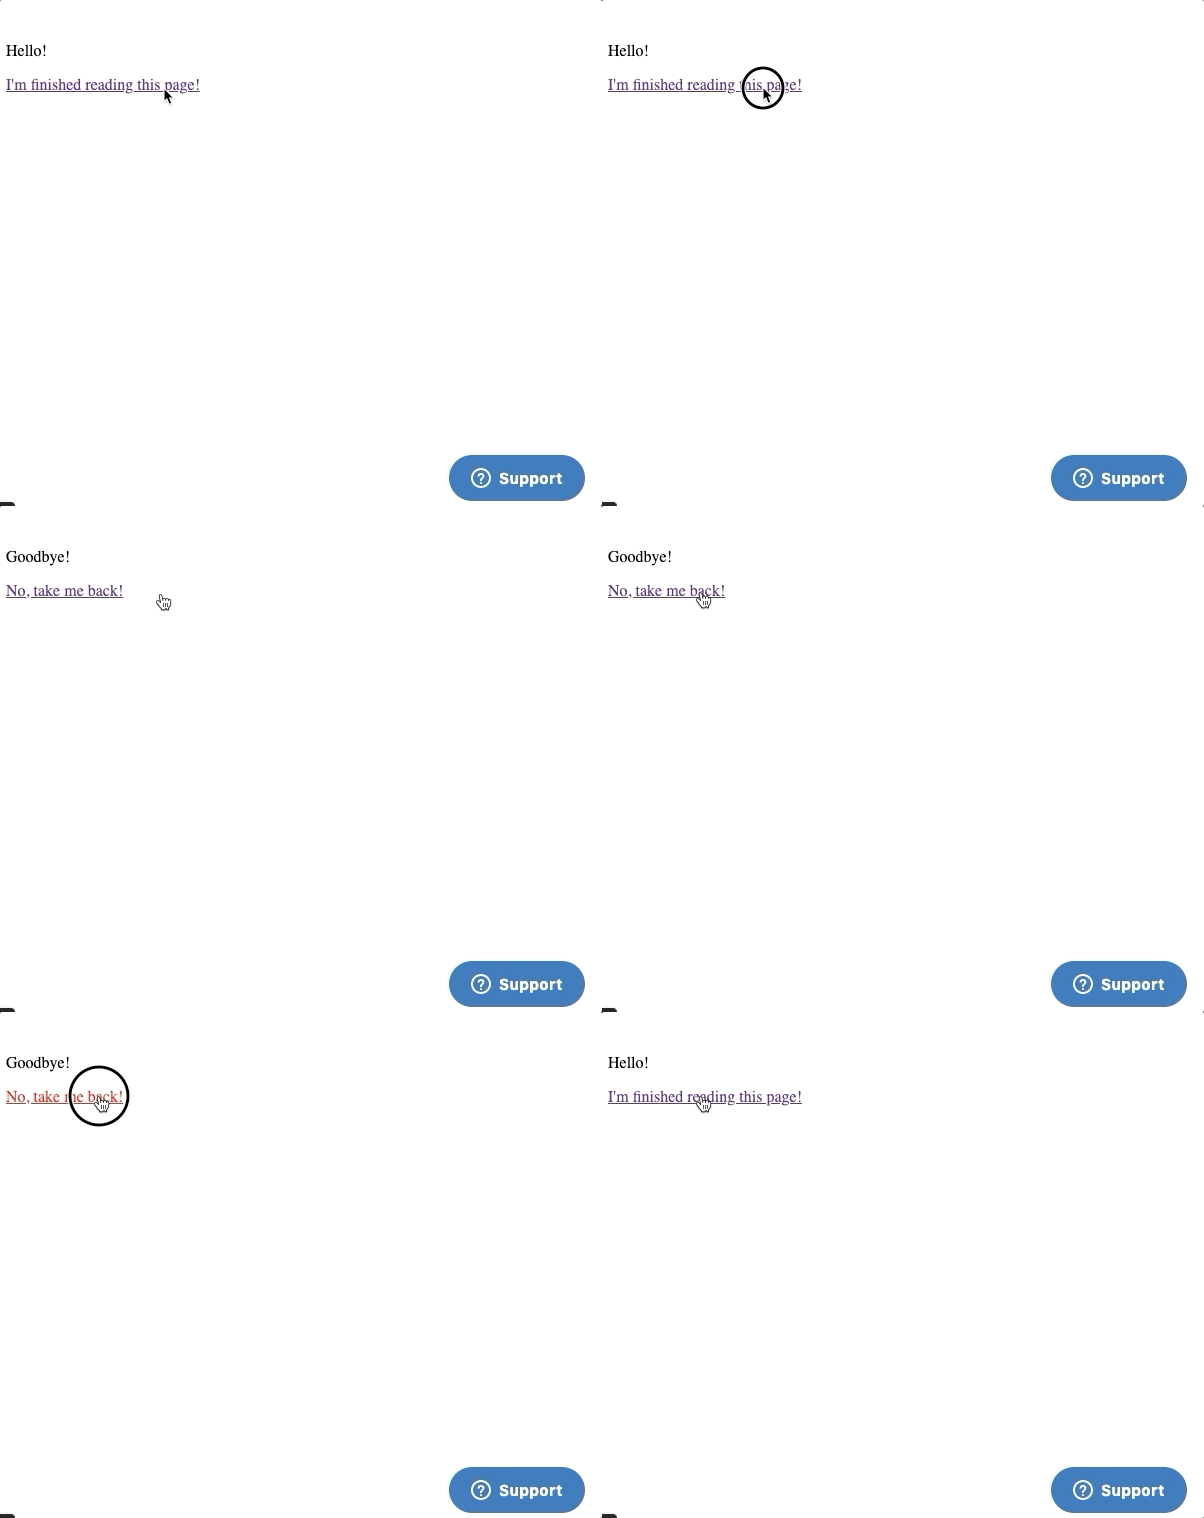
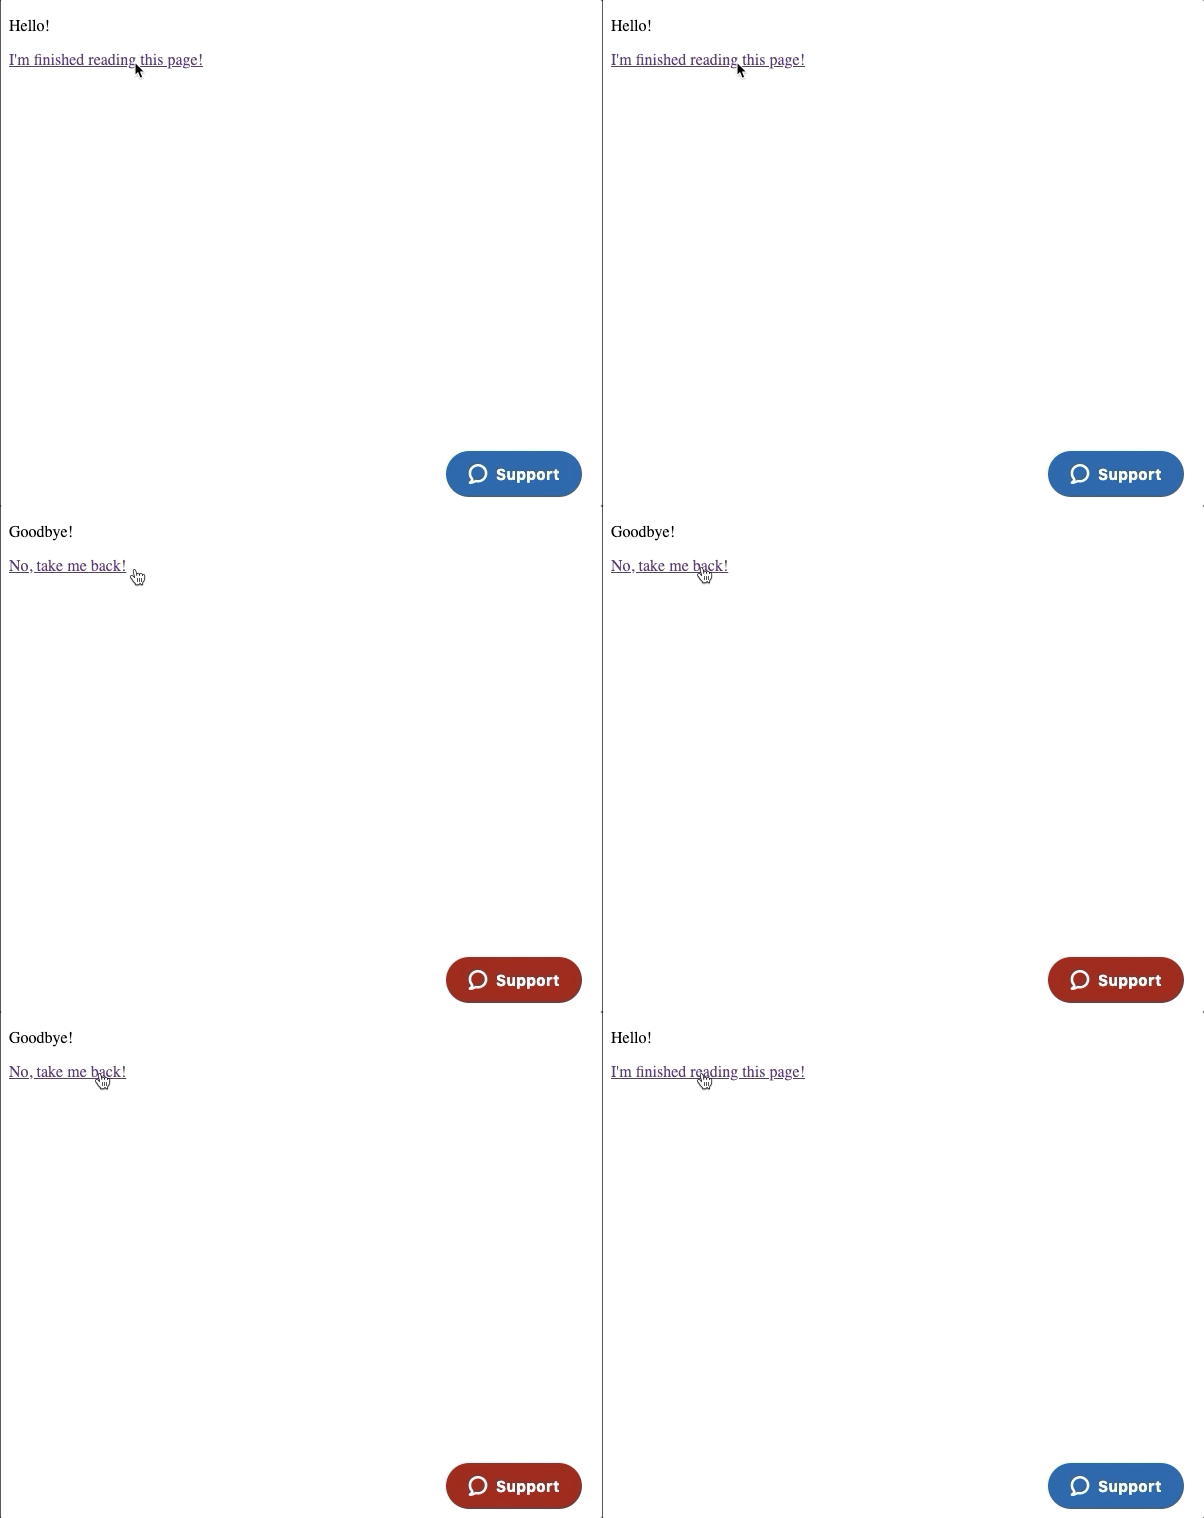
The “Hello!” content is displayed with a “I’m finished reading this page” link which switches to the “Goodbye” content. The “No, take me back!” link switches to the “Hello” content. The widget is displayed on both content pages.

Example: Setting the launcher color on each page
To demonstrate how widget settings can dynamically change based on a user action, you’ll set the Web Widget (Classic) launcher color for each page.
In your CodePen HTML editor, add the following highlighted code to the self-executing anonymous function:
(function () {// showHello functionfunction showHello() {var source = document.getElementById("hello-template").innerHTML;var template = Handlebars.compile(source);document.getElementById("content").innerHTML = template();updateWidgetSettings((themeColor = "#0058a3"));var linkGoodbye = document.getElementById("link-goodbye");linkGoodbye.addEventListener("click", showGoodbye);}// showGoodbye functionfunction showGoodbye() {var source = document.getElementById("goodbye-template").innerHTML;var template = Handlebars.compile(source);document.getElementById("content").innerHTML = template();updateWidgetSettings((themeColor = "#991111"));var linkHello = document.getElementById("link-hello");linkHello.addEventListener("click", showHello);}// updateWidgetSettings functionfunction updateWidgetSettings(themeColor) {zE("webWidget", "updateSettings", {webWidget: {color: {theme: themeColor,},},});}// show hello content to startshowHello();})();
You added the following JavaScript code:
- An
updateWidgetSettingsfunction with athemeColorparameter. The parameter is used to apply the color setting through the updateSettings API - In the
showHellofunction, theupdateWidgetSettingsfunction is called withthemeColorassigned a hex color code for blue - In the
showGoodbyefunction, theupdateWidgetSettingsfunction is called withthemeColorassigned a hex color code for red
On the “Hello!” page, the widget launcher color is blue. When you switch to the “Goodbye!” page, the widget launcher color is red.

Example: Assigning Chat departments in a single page application
Building on the previous example, you will use the departments API through the updateSettings API to set the Chat department on each page. So when a user initiates Chat in the Web Widget (Classic), it is routed to a specific department.
Create departments in Chat
First, you need to create two departments called “Sales” and “Support” in Chat.
To create departments in Chat
-
In Chat, select Settings > Departments. Click Add Department.
-
Complete the following details:
- Department status: enabled
- Department name: "sales"
- Description: "Sales department"
- Department agent: Add yourself
-
Click Create department.
-
Repeat the process to create another department called “support”.

Configure the Chat department for each page
In the CodePen HTML editor, add the following highlighted code to the self-executing anonymous function:
(function () {// showHello functionfunction showHello() {var source = document.getElementById("hello-template").innerHTML;var template = Handlebars.compile(source);document.getElementById("content").innerHTML = template();updateWidgetSettings((themeColor = "#0058a3"), (dept = "support"));var linkGoodbye = document.getElementById("link-goodbye");linkGoodbye.addEventListener("click", showGoodbye);}// showGoodbye functionfunction showGoodbye() {var source = document.getElementById("goodbye-template").innerHTML;var template = Handlebars.compile(source);document.getElementById("content").innerHTML = template();updateWidgetSettings((themeColor = "#991111"), (dept = "sales"));var linkHello = document.getElementById("link-hello");linkHello.addEventListener("click", showHello);}// updateWidgetSettings functionfunction updateWidgetSettings(themeColor, dept) {zE("webWidget", "updateSettings", {webWidget: {color: {theme: themeColor,},chat: {departments: {select: dept,},},},});}// show hello content to startshowHello();})();
You added the following JavaScript code:
- A second parameter
deptto theupdateWidgetSettingsfunction which is used to set the Chat department through the updateSettings API - In the
showHellofunction, theupdateWidgetSettingsfunction is called withdeptassigned the value “support”, which is the name of the Chat support department - In the
showGoodbyefunction, theupdateWidgetSettingsfunction is called withdeptassigned the value “sales”, which is the name of the Chat sales department
Test the Chat department on a page
After modifying the self-executing anonymous function, you can try out Chat on each page.
To test the Chat department on a page
-
In Chat, check you have enabled your online availability.
-
In CodePen, on the “Hello!” page, click on the Web Widget (Classic) launcher and initiate a chat. It connects to the support department. Alternatively, switch to the “Goodbye!” page and initiate chat in the widget which will route to the sales department.
Note: If you start a chat and then switch pages, the chat continues with the same department.
-
In Chat > Visitors, in the drop-down options, select Group by Department. You should see the chat listed under the department heading.
